Thursday, November 20, 2014

DIY Fabric Strip Backdrop


I had been eyeing the fabric strip backdrops many people are using for photo backdrops and event decor.  I did a quick search to see how much I could buy one for and it was $50 and up (and there were limited colors)! Yikes!  So naturally, I got creative and decided to make my own.

I purchased $24 worth of fabric and used twine I had at home, and viola! My backdrop!


To begin, I went and picked out 3 prints of fabric in neutral tones/prints.  I wanted my backdrop to be about 5 ft long so it would be fairly versatile, so I got about 2 yards of each.


Next, I gathered my supplies! My handy dandy rotary cutter, my cutting mat, and my humongous quilting ruler.  


I took over the living room floor, loaded up some Netflix episodes, and started cutting strips.  My strips are about 2.5'' wide.   For a loose project like this, precision is not that important.  It took me several nights to complete this step.  Then I finally got creative and folded my fabric to cut the strips (cutting through 3-4 layers of fabric at a time) and it was MUCH faster!  


My original plan was to sew loops into the tops, much like a curtain, so I could hang them on the twine.  After playing around with the strips, I found out that I could simply fold over 5-6 inches of fabric and tie it into a knot-loop.  It seems very secure and it looks so casual!


Then I began stringing them onto the twine, alternating fabric patterns. 


Add as many as you like!  I like them to look thinker and fuller, so I recommend MORE strips the better!  

My finished product!


Here are a few of my favorite photos from the mini sessions I used it in:


What do you think? Not too shabby for a $24 No-Sew project, right?


Saturday, August 30, 2014

Bangs for Thin, Wavy Hair


It happened.  I got the itch for bangs.  After months of Googling photos of celebrities and people with bangs AND wavy hair, I became frustrated that there were very limited "before" and "after" comparisons.  So when I decided to take the bang plunge I opted to document it in hopes of helping other ladies who are interested in bangs!

Past Hair Type
- Thin
- Fine
- Curly ( 3A or 3B ish)


Then my locks got long and heavy!  The top straightened out so I decided to cut it, assuming it would curl back up to it's previous glory.  I was wrong.


Current Hair Type (post-baby): 
- Thin
- Fine
- Wavy/Curly (2A or 2B depending)


I had bangs when I was a small child, I mean, EVERYONE seemed to have bangs in the early 90s, right? I had such curly hair after adolescence that bangs were NEVER on the table.  After having pregnancy reduced my curls to beachy waves

 However, after having a baby my curls have reduced to beachy waves and I became fascinated with the thought of curls to add a little "edge" to my face.  This, plus realizing that my faint/thin my eyebrows make my forehead look larger, sealed my decision to add some bangs to my look.


Bangs with waves/curls are tricky because waves are often unpredictable.  However, the benefit of adding bangs to waves is that they can be straightened without looking awkward next to the curls.  My goal is to be able to wear them casually wavy.


Celebrity/Pinterest Inspiration:
This is the general look I want.  Of course, I don't have a personal team of stylists and makeup artists to help "perfect" it for events, but you can see the idea.


I found a lot of tips from this YouTube video: https://www.youtube.com/watch?v=oSzkzSG4KNQ

Please excuse my late night, make-up free, photos! 


1. Form your triangle!  (Mine is very small... I wanted to take baby steps just in case I botched my hair)


2. Trim bangs to desired length.  Initially, I went for the side bangs. I kept going back and forth between wet and dry cutting to ensure I was keeping them even AND making sure the hair wasn't going to curl up too short.   


As you can see, I just them long to make sure they would not dry too short.  I trimmed and adjusted a few times.  There is a steeper taper on my left because of where my natural part is.


Before and After:  Subtle difference.  


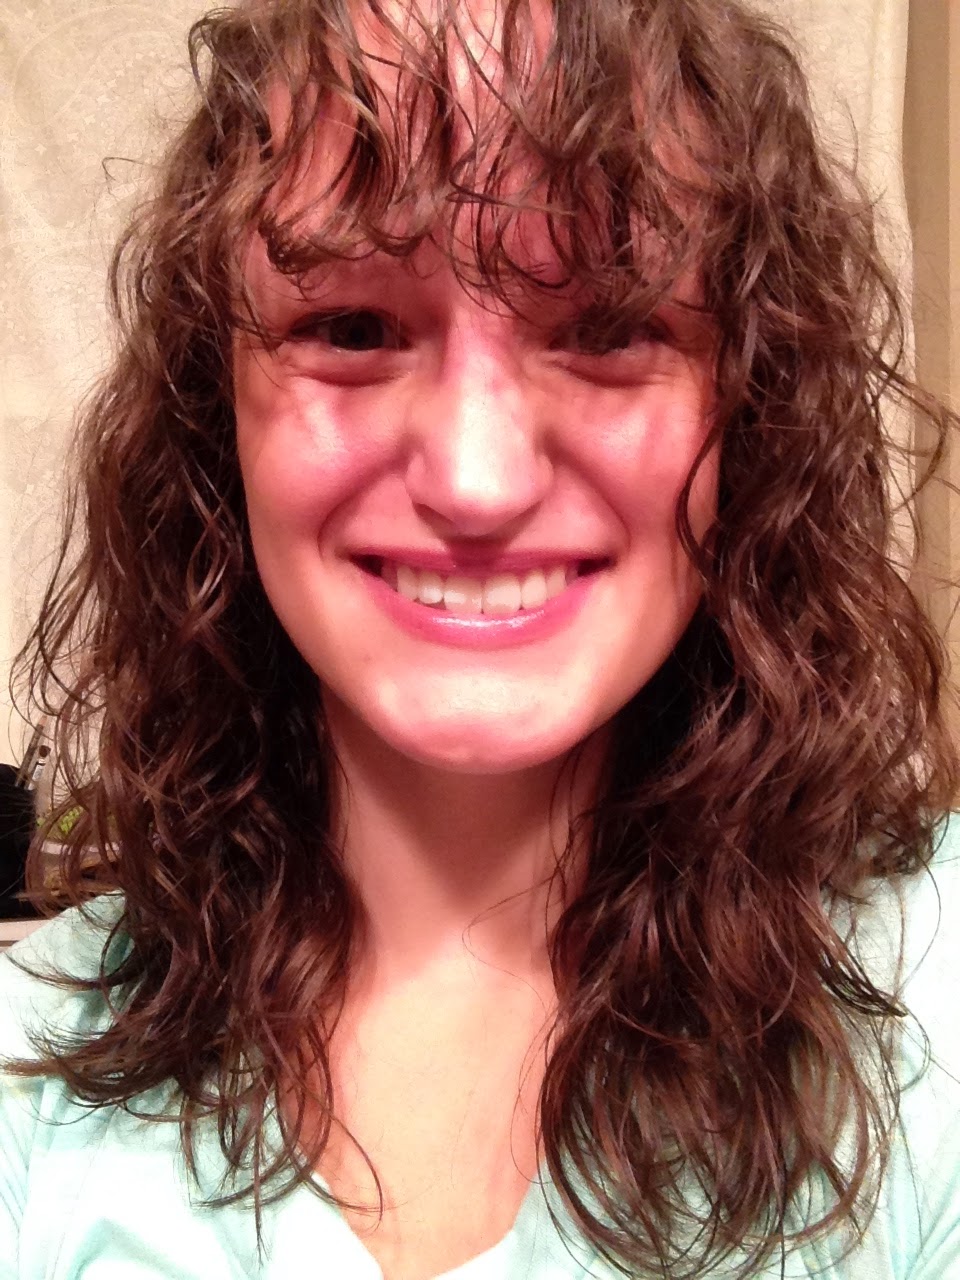
The next night I took the bangs a step further to see-through fringe bangs!  Mine were too thin at first, so I pulled more "bangs" from the triangle technique.   Then, I trimmed a tiny bit more to keep the ends out of my eyes.  


This final results! 


Oddly, my hair curled up more than normal for these pictures. 
We will see how I like it over time!   I can't wait to see how they look with different hairstyles.


***UPDATE**
Three months later I am still a fan of the bangs!  It is different having to trim them every 3-4 weeks so they don't poke me in the eye... but it's totally worth the hassle!  I prefer to wear them straightened instead of wavy which wasn't explained in the initial tutorial.  Trial and error :)


*** Update, 1.5 years later ****

I am still loving the bangs! :)