I struggle to think of creative, personalized wedding gifts. Of course, "check the registry" is an obvious answer, but sometimes it's nice to come up with something thoughtful and special in addition to the requested oven mitts or bath towels. I've known several couples to be married this year and wanted to create something special for them from their wedding invitation.

I fell in love with the other Wedding Invitation Ornament posts, but I never found a very detailed guide on how to do it. If you don't know- I'm a girl who LOVES detailed instructions. That said, here is my rendition of a Wedding Invitation Ornament.
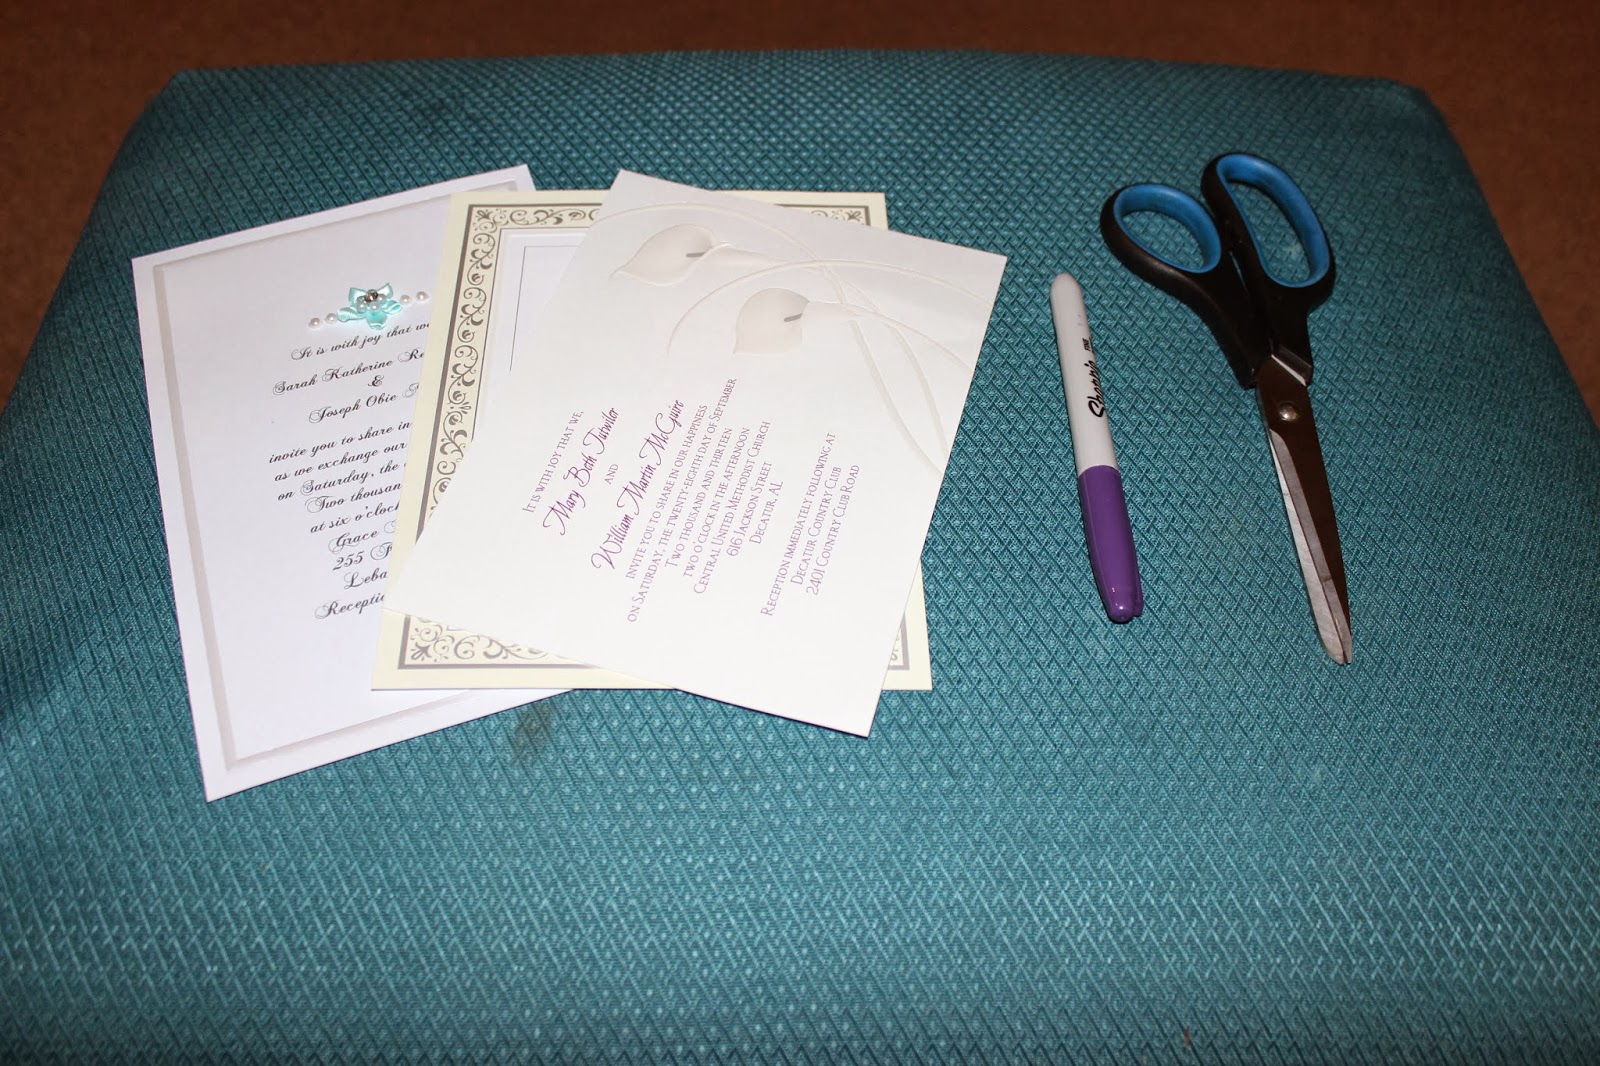
Supplies:
- Wedding invitation
- 3" Clear ball ornament (I used plastic- but I suppose glass would work)
- Ribbon (white/silver or wedding colors may be best)
- Scissors
- Ink pen (for curling)
Time: 15 - 20 minutes
1. Cut your wedding invitation into strips. This is the most tedious part!

2. Curl your strips around a pen, similarly to using a curling iron.
3. Screw the curled paper into the ornament opening.

It's okay. I was overreacting. It's so easy- they simply curl together gracefully with little effort on behalf of the crafter. Cool, huh?

*Tip- reserve boring lines of the invitation for last: it's okay to leave out "Reception to Follow". It is not okay to leave out the bride's name =P
* Tip - try putting in the curls right-side up... you can control what SIDE of the ornament they fall to, but not much else.
5. Completed ornament! At this point, I have not added my ribbon but you can see how "full" of curls the ornament looks! I can't wait to add the ribbon- I sure hope the couple likes it.


No comments:
Post a Comment